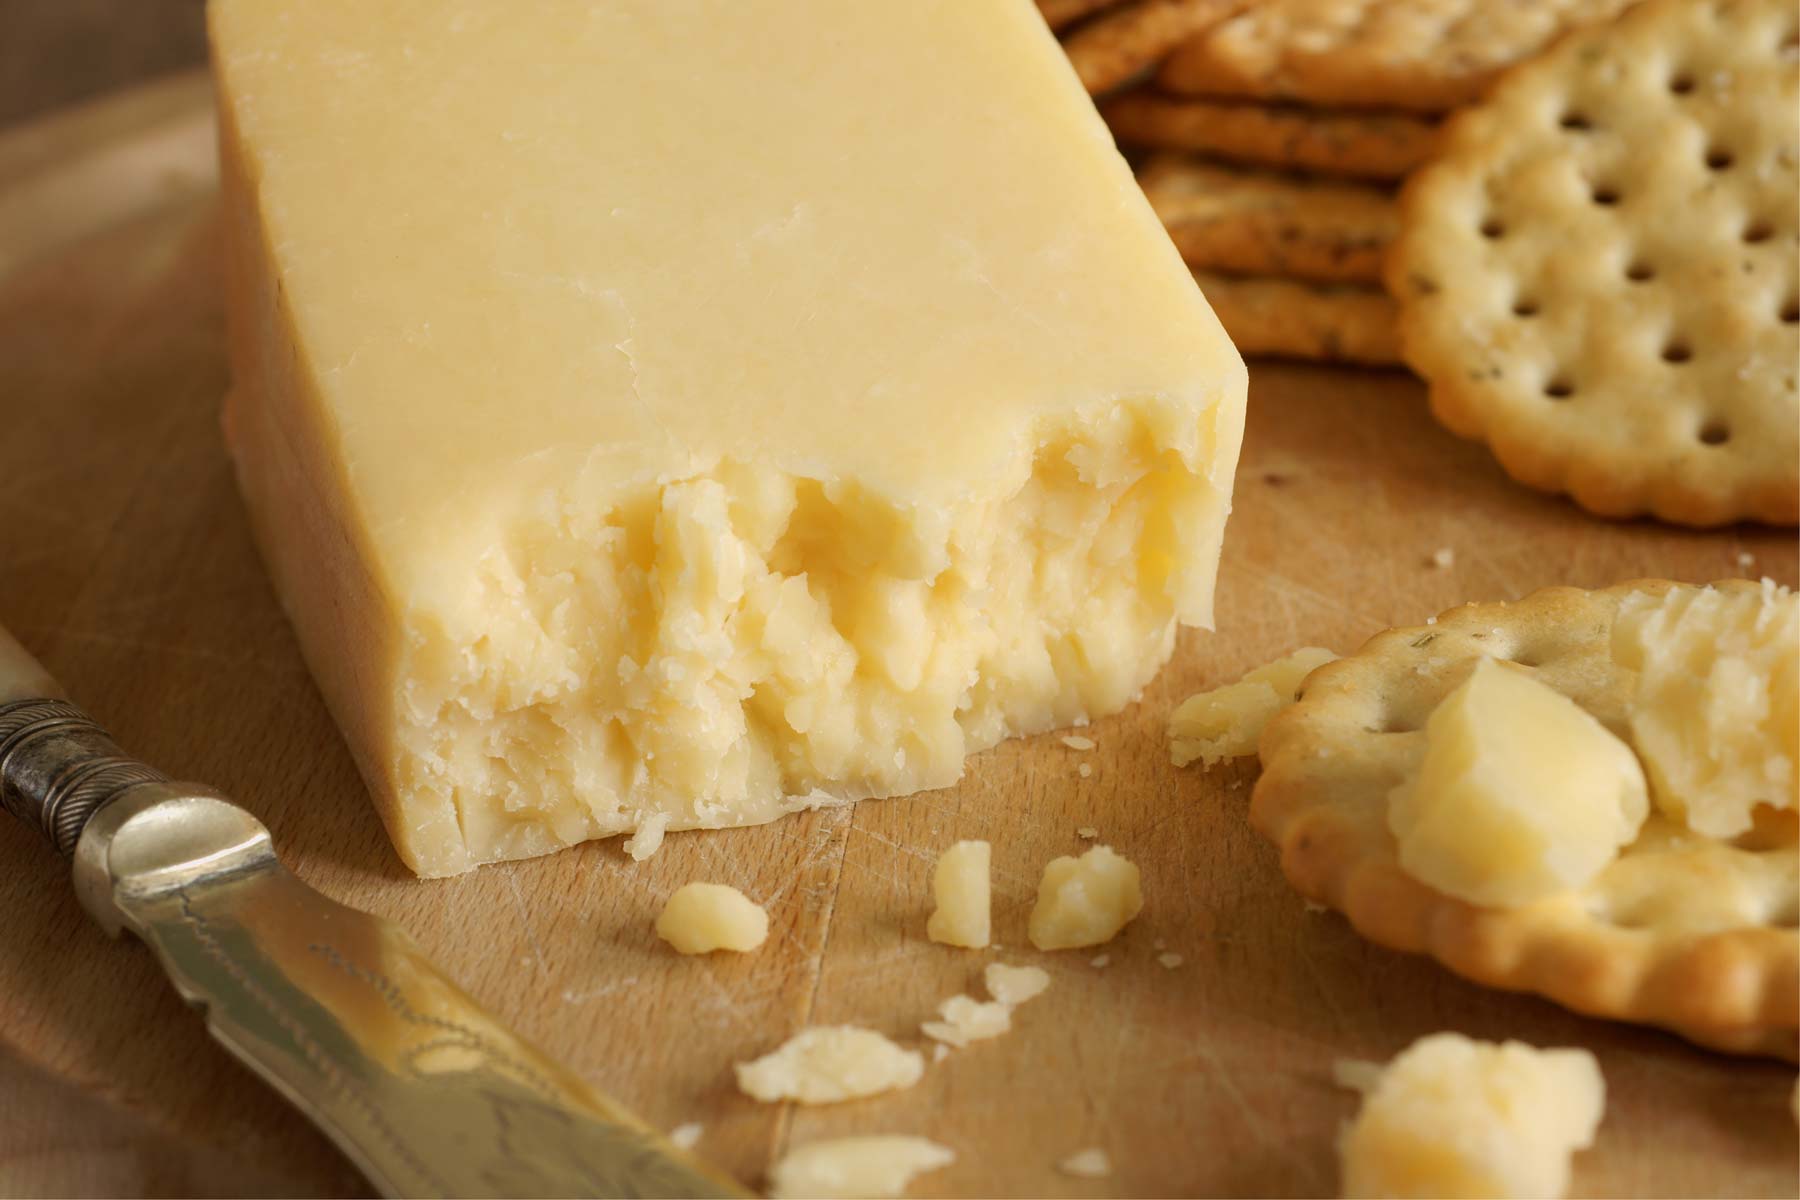
Lancashire Cheese Recipe
The finished cheese can range from creamy, to crumbly with a complex flavor, depending on the dryness of the curd and the length of time for aging.
-
Yield
4 Pounds
-
Aging Time
~2 Months
-
Skill Level
Intermediate
-
Author
Jim Wallace

Ingredients
Total price for selected items: Total price:
Instructions
A Recipe for Making Lancashire Cheese
Lancashire is a cheese produced in Britain that was almost lost because of the two World Wars in the early 20th century. This would have been a tremendous loss because Lancashire is a fantastic cheese that is famous for its creamy, almost buttery, character.
This is a fairly easy cheese to make because of its short stir time. There's no need to stir a pot of curds for an hour or more with this recipe. It can also be enjoyed after 2-3 months of aging, or aged longer for 6 or even 12 months if you prefer.
-


Heat & Acidify Milk
Begin by heating the milk to 86F. You do this by placing the milk in a pot or sink of very warm water. If you do this in a pot on the stove make sure you heat the milk slowly and stir it well as it heats.
For a warmer color in the finished cheese, add about 15-20 drops of Annatto to the milk while it's heating.
After the coloring is thoroughly stirred in, add Calcium Chloride if using a pasteurized milk. Add these while the milk is heating.
Once the milk is at 86F the culture can be added. This may seem like a smaller amount of culture but it reflects the slower acid development to give the cheese its smoother texture.
To prevent the culture from caking and sinking in clumps, sprinkle the culture over the surface of the milk and wait 2 minutes for the culture to re-hydrate before stirring it in.
The milk now needs to be kept at this target temperature until it is time to increase for cooking the curds. Hold the milk with culture quiet for the next 60 minutes to allow the culture to work.
-

Coagulate with Rennet
Now add 3.5ml of single strength liquid rennet.
The milk needs to sit quiet for an additional 45 minutes while the culture continues working and the rennet coagulates the curd.
The milk will begin to thicken at about 15 minutes, but allow it to coagulate fully for about 45 minutes.
It is always best to check for a firm coagulation and if it needs longer allow it to go as much as 50% longer. The next time you make the cheese, adjust the rennet amount if needed, more rennet for a quicker set.
The thermal mass of the milk should keep it warm during this period. It is OK if the temp drops a few degrees during this time; you can heat it back to temp after cutting the curd in the next step.
-


Cut & Cook Curds
Once you have determined that the milk has set well, it is time to cut the curds. This is the first step in reducing the curd moisture.
Cut the curd mass as evenly as possible to about 5/8” cubes, then allow the cut curd to rest for 5 minutes, so the cut surfaces can heal. This rest is important to prepare for the stir phase that comes next. Without it, the curds would break further and lose too much moisture.
Now it is time to begin drying out the curds by slowly stirring the curds for 15 minutes while bringing the temperature back up to 86F.
The movement of the curds in the warm whey will encourage whey to be expelled from the curds. This is also assisted by continued acid development by the cultures.
The final curd will still be very soft.
When ready the curds can be allowed to settle under the whey. Once settled, remove the whey down to about 1” above the curd mass.
-


Drain Curds
The curds can now be transferred to a pre-sanitized draining pan or colander lined with draining cloth large enough to contain the curds and tie into a bundle.
I like to use two plastic, food-grade containers; one with and one without holes. I simply used a hot nail to punch holes in one of my pans. This allows me to gently pour the curds and remaining whey into the pan. Once transferred I give it a final stir, let the curds settle under the whey, then remove the upper pan and drain off the remaining whey.
Using this method produces a settled curd mass that is compact, this helps produce a finished cheese with minimal internal openings.
Draining the curds in a colander will also work, but may leave more open space between the curds.
-


Press & Dry Curds
Once the curds have drained begin the drying phase using successive weight and break:
- To begin, fold the cloth over the consolidated curd mass in the drainpan/colander. Place a board and 5 lb weight on top of the bundled curd to press, keep the curds warm, around 75-80F.
- After 5 minutes open the bundle and cut the curd mass into large 4” blocks. Bundle the curds with the cloth and board again, then add 8-10 lbs weight. Repeat this step every 15-20 minutes, break curd pieces in half each time.
- Repeat the previous step 2-3 more times, breaking the curds smaller each time until the curds seem moderately dry on surface.
- Once done, remove the weight and allow the curd mass to sit for 3 hours, keeping it at 74-78F to develop its final acidity.
-

Salt Curds
Once the curds have been well drained, and allowed to rest, break them thoroughly into 1/2-3/4” pieces.
Now it's time to salt the curds.
The amount of salt used should equal about 2% of the final curd weight. My final curd weight, from 4 gallons of milk, was 5.5 lbs so I used 1.76 oz of salt
Add salt to the curd mass in 2-3 doses, stirring for about 5 minutes between each application to make sure the salt dissolves and the brine gets absorbed by the curd. This will prevent surface hardening.
-

Transfer Curd to Mold
The curds can now be transferred into a cheese mold lined with draining cloth. The curds should be firmly packed into the cheese mold.
Our Medium Cheese Mold makes traditional taller cheese, in a size often referred to as a small truckle. Our Large Cheese Mold can be used although the cheese will be shorter and wider. -


Pressing
For pressing, begin very light and slowly, then increase the press weight to a moderate level:
- 1 hour at 30lbs
- 2 hours at 75lbs
- 24 hours at 100lbs
To assure an even consolidation, between each change of pressing weight, unmold the cheese, remove the cloth, turn the cheese, rewrap it and place it back into the cheese mold. After each turn you will notice the cheese forming a smoother surface as the curd consolidates.
The rate of whey running off should initially be a small stream that should quickly reduce to a matter of drops. This is a good rate of whey removal during pressing and will slow even more as the residual free moisture is released. The cheese mold should show tears of whey weeping from the sides very slowly. When this stops you can increase the weight slightly.
Using Different Cheese Molds: The pressing weights above are based on using the Medium Cheese Mold, with a surface area of 26 sq inches.
Our Large Cheese Mold has a surface area of 47 sq inches. If using this mold, multiply the pressing weights by 1.8.
Cracks Between Curds: If the cheese does not close completely, leaving small holes and cracks between curds, it was drier than expected and may need more weight and time to fully consolidate. This could have been caused by cutting the curd too small or stirring too much. A drier cheese will take longer to age but will still be a good cheese with a more complex flavor.
-


Prepare for Aging
The simplest way to prepare for aging Lancashire cheese is to wax it. Click here for details on waxing cheese.
However, the more traditional method is to Bandage Wrap the cheese. This provides better ripening and results in more complex flavors. This is how the cheese is finished in the photos above. Click here for details on bandage wrapping cheese.
-

Aging
When ready, the cheese can then be placed into an aging space at 52-56F and 80-85% moisture to be aged for 2-6 months.
The character of the cheese will change over the aging period. Lancashire is the only county to have its name linked with three types of cheese:
- Creamy Lancashire | Aged for 6-8 weeks. This traditional cheese is known as a brighter cheese, with a light, tangy flavor.
- Tasty Lancashire | Aged for up to 12 months. It develops a much stronger sharper flavor with that is deeper and more intensified.
-
Crumbly Lancashire | Developed since the 1950s (‘new' or 'single acid' cheese) with a 1 day make time.
This style was adapted to be less time consuming and labor intensive for commercial production. It uses more culture so the final curd acidity is reached within a single day of molding.
Most Lancashire in markets today is this 'quick' style cheese, so it's able to compete with other white crumbly cheeses such as Cheshire, Wensleydale and Caerphilly.
Cheese Making Supplies
Related Products
Cheese Making Recipes
Recommended
Visit Our Blog
Learn About Cheese Making
Draining Soft Cheese: Tips for Creamy, Delicious Results
Draining is a crucial part of soft cheese making—it directly affects your cheese’s final texture, flavor, and shelf life. Whether you’re making tangy chèvre, rich cream cheese, or luscious fromage ...
Cheese Making pH Guide: How to Test and Control Acidity for Perfect Cheese
Understanding pH in Cheese Making: A Beginner-Friendly Guide When it comes to making cheese at home, understanding acidity and pH levels is essential for producing high-quality cheese with the perf...
How to Store and Age Cheese in Brine
Get the best results when storing and aging Feta, Mozzarella, or other Mediterranean style cheese in a brine at home, we'll show you how.


